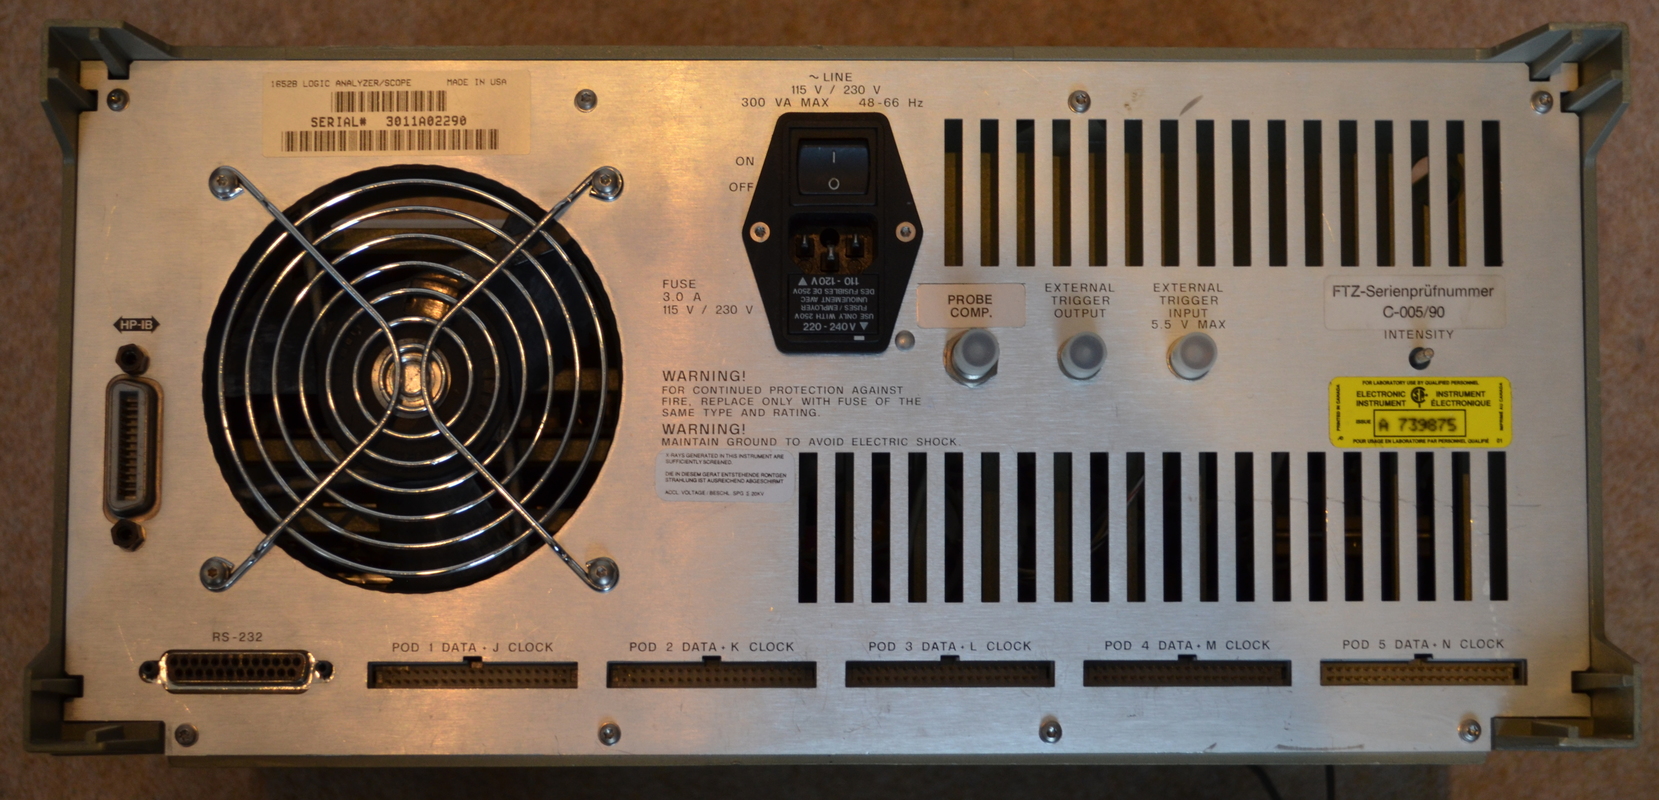
A few years back I bought myself a HP1652B, that’s an 80 channel logic analyser, with a two channel 100 MHz scope inside too! (Not bad for £150 eh?)
In this post, I’ll cover the repair I made to the unit after it suffered a rather exciting failure.
The Fault
I’d been using the thing for a few months, until one day it went up in a cloud of very stinky smoke. I seem to recall the thing continued to run, but I didn’t dare leave it on long enough to see!
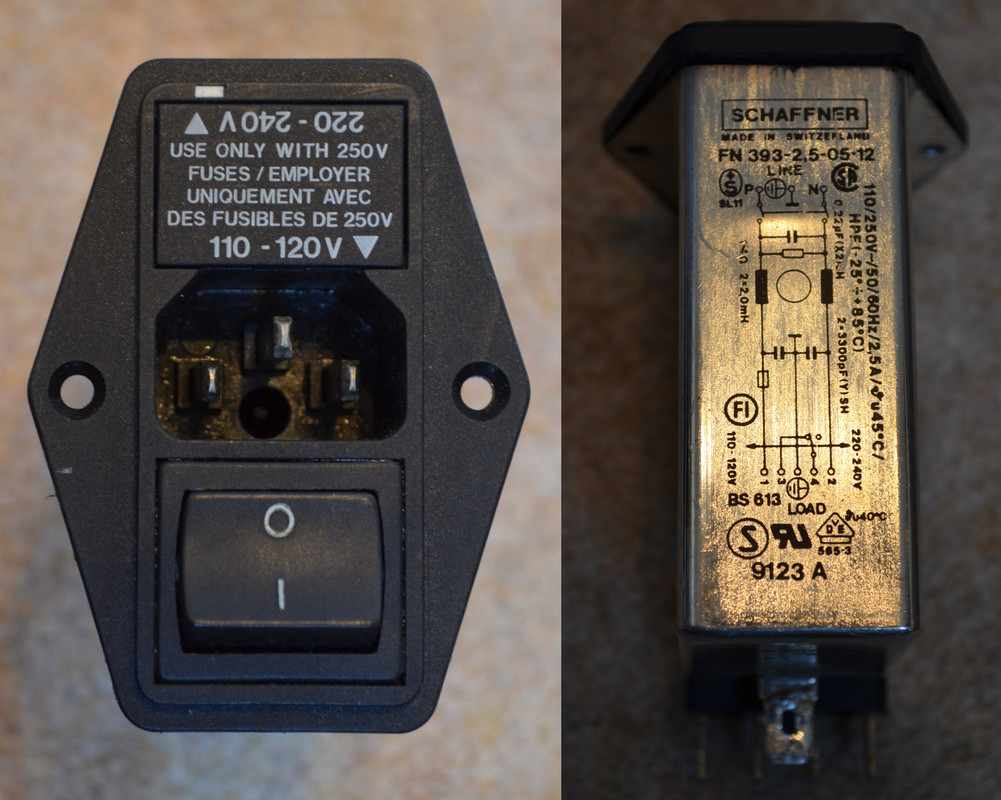
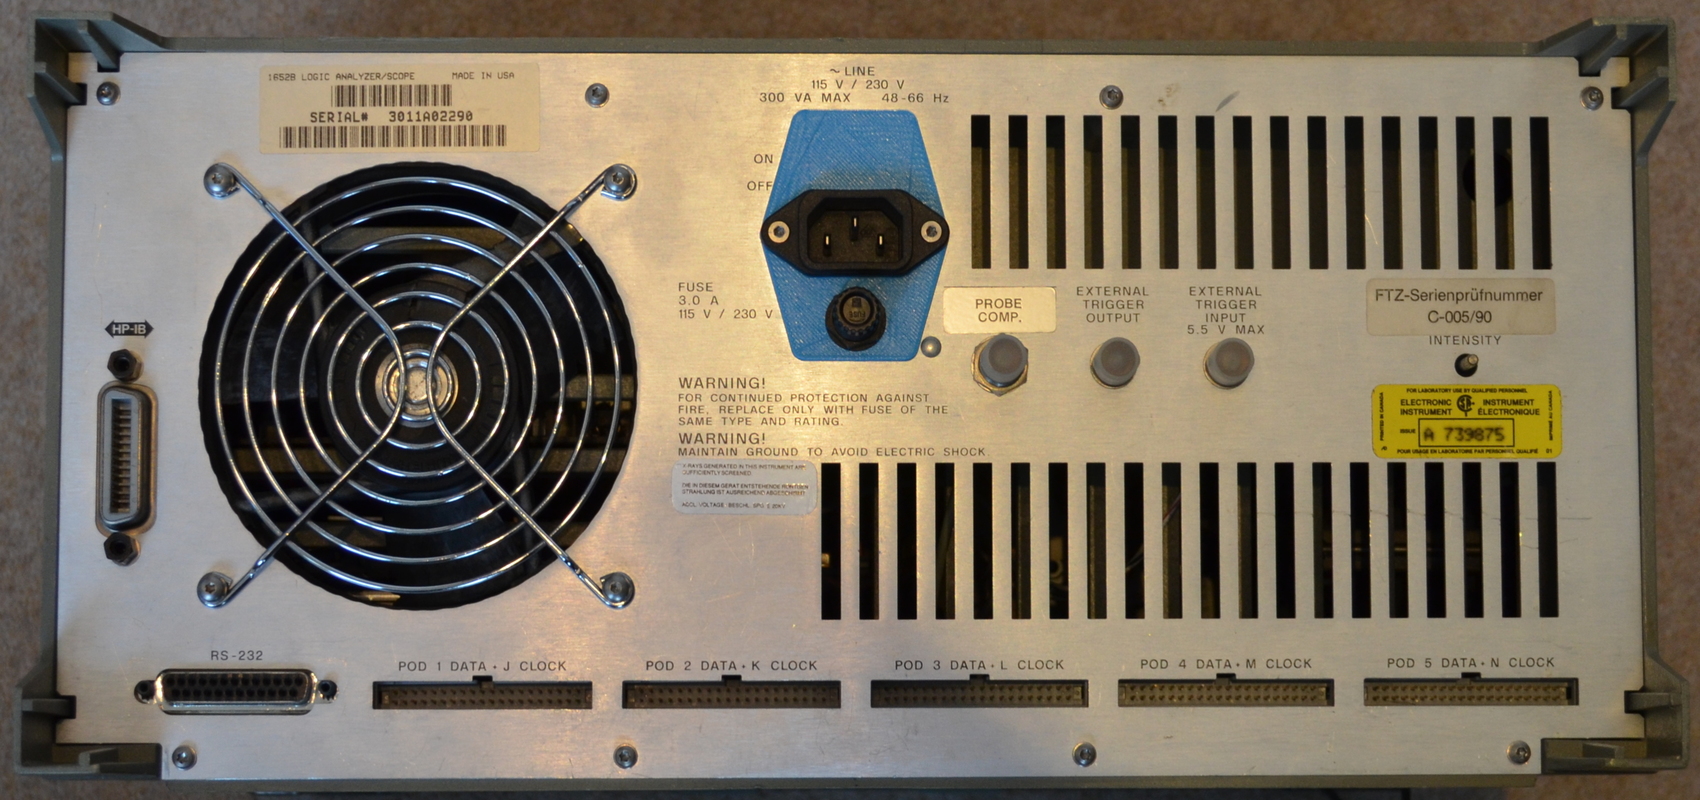
A quick investigation revealed that the problem was the fault of the mains inlet filter, specifically a Schaffner FN-390. Discussions online seem to suggest these devices, specifically of this era are prone to failure if they’re powered off for a long time. I imagine my ‘scope had been sat in a cupboard for many years before making it to me.
I’m now fairly confident the exact failure mode was the mains suppression caps (X and Y class) failed. I’ve had HP equipment of a similar vintage that has had failed mains caps. The smell of them was identical to this mains filter!
The Repair
The repair seems pretty trivial, just replace the part. Indeed that was my first port of call, but at nearly 30% of the cost of the instrument I was hesitant. I really didn’t need a module with a built in switch, since all mains outlets in the UK are switched anyway. I also don’t need the voltage selector, since I don’t plan on taking it anywhere outside the UK soon, never mind outside Europe!
I thus opted to use a much cheaper equivalent part, a TDK B84771. Specifically this was the part I used. I also added an inline fuse just in case. (When was the last time you checked the fuse rating in your IEC lead before plugging it in?!).
To mount it all, I would need some kind of bracket. My fabrication skills aren’t really up to the task. As it happened though, work had recently invested in a 3D printer. With a bit of gentle persuasion, a colleague let me use it, and also introduced me to OpenSCAD. OpenSCAD is a wonderful piece of software that lets you specify your models using a very intuitive programming language. I’d spent a decent amount of time in Google SketchUp and also AutoCAD in the past, but for me this has to be the best way to 3D model.
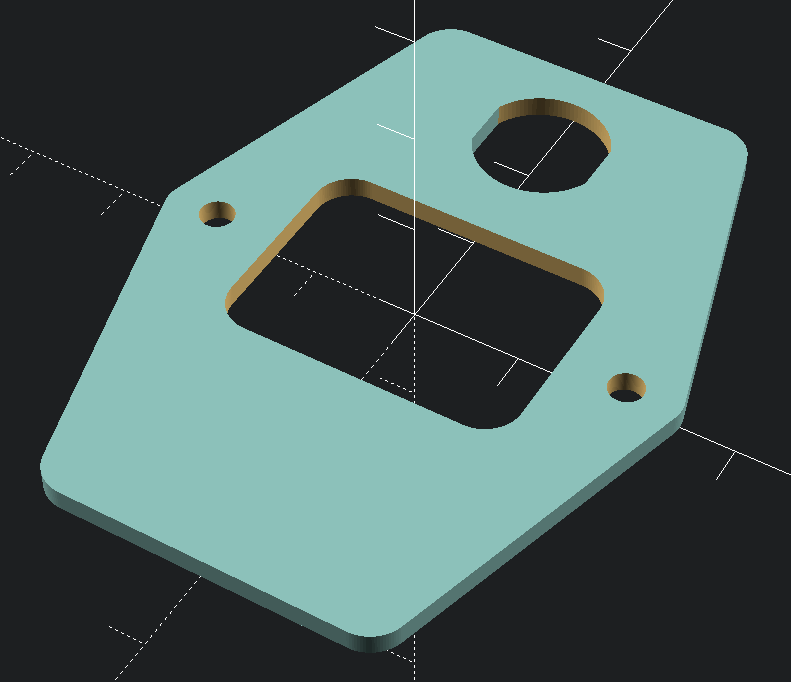
The OpenSCAD code for the finished design. This isn’t the best testament to the quality of my code I’m afraid!
The Result
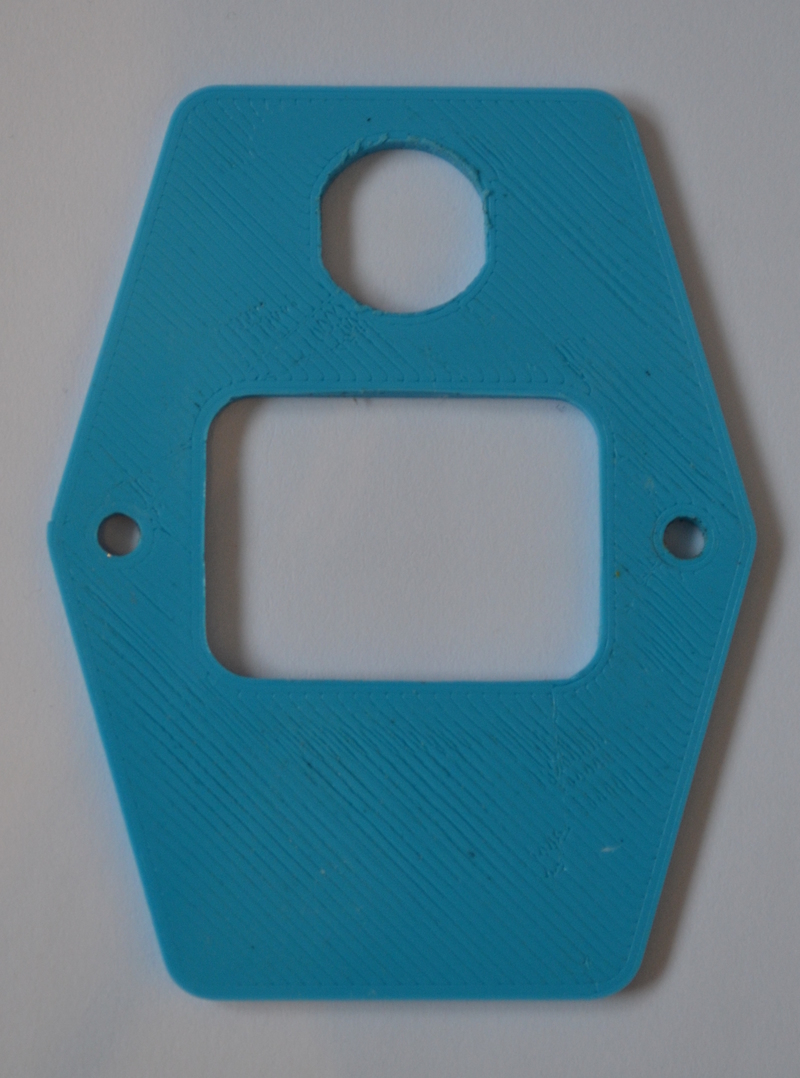
This is the printed part from the printer. The edges are a bit rough as they were trimmed with a knife. The first layer of the print flairs out quite a bit.
Overall I’m very pleased with the result. The new part seems to work fine, the repair looks fairly professional, and I learned a whole host of new skills in the process. Since this modification I’ve used 3D printing a number of times at work for prototypes and even small production runs.